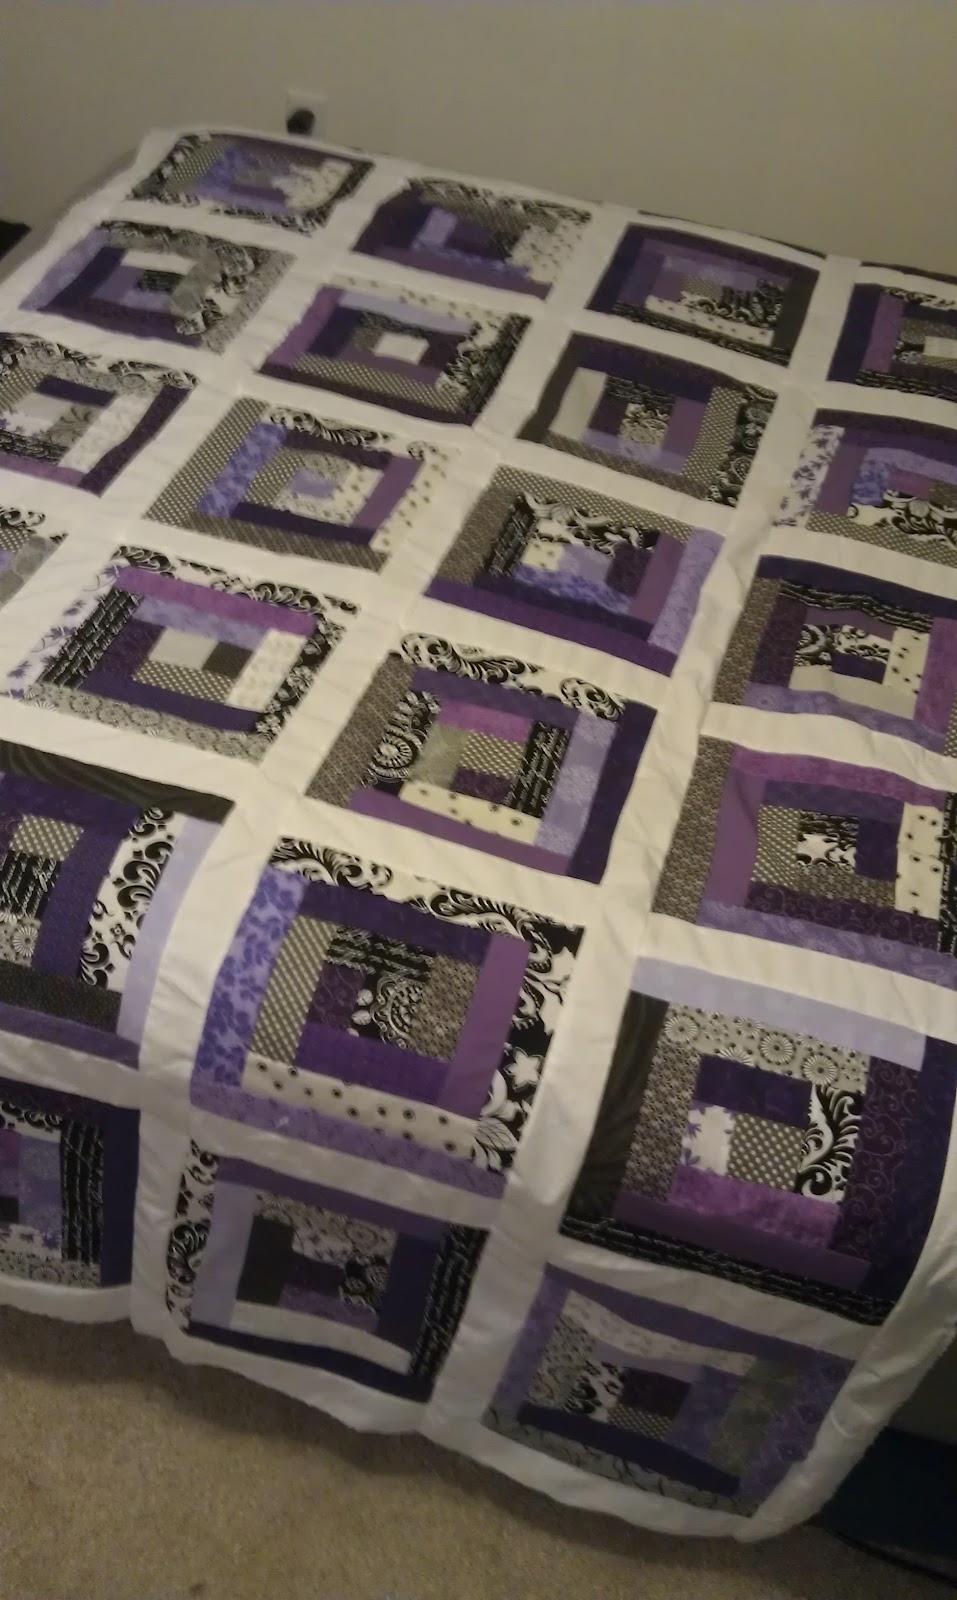
I made this quilt for my little sister. She LOVES the color purple, as I'm sure you can tell. I am not to fond of purple myself, but while I was doing this quilt it kind of grew on me. This quilt was a good learning experience for me. I will show a step by step tutorial on what I did. It is a King size quilt (this picture is showing it on a queen size bed).
This is a picture of it on her bed in her cute room! I made all of those throw pillows for her Birthday a while back as well.
Supplies
- Several different fabrics (depending on what color and look you are going for - I used purples, greys, whites, and blacks in multiple prints) - together it should equal around 5 1/2 yards
- For the sashing (around each block) I just used a twin sized white flat sheet. - I have found that buying that much plain white fabric is usually more expensive than buying a flat sheet at Wal-Mart
- About 7 yards of plain fabric for the back of the quilt (2 flat sheets will work just as well)
- King size batting - I used a warm and natural thin cotton batting (this way I could do the machine quilting at the end)
- A neutral colored thread for piecing
- A fun colored thread for the quilting - I used a high quality sulky thread (this kind of thread is best for machine quilting because it doesn't break as easily, and it looks really pretty)
- ***TIP - Make sure that you wash all of your fabric BEFORE you cut it (especially if it is a cotton fabric, it shrinks)- This way you can make sure that there won't be any bleeding when you wash it later on

First of all, cut the matching fabrics into 2 1/2 inch by 2 1/2 inch squares - making 56 in total. These will be the center pieces to each of the blocks. Then you can cut the strips into 2 inches (it doesn't really matter how long they are because you will be trimming them as you go). This step takes the longest because that is a lot of fabric to cut!
This pattern is a spin-off of a log cabin. I have labeled the step-by-step pattern above. It is a very simple pattern. Each of my blocks were different, as you can see in this particular block I separated the colors (not all of them were like that, it just depends on what kind of look you are going for). **TIP- as you are going around the center piece, make sure that you line it up and cut each piece evenly.
Now, as soon as you have finished all of the blocks, trim them up so that they are all perfectly squared and equal in size. Then you can cut and add the sashing (you can go as wide as you would like, it just depends on the look you are going for, and how big you want your finished project to be) - I did mine the same size as the middle squares, 2 /12 inches.
With 56 squares total the dimensions of the quilt should be 7 blocks by 8 blocks. As soon as you have finished the front of the quilt you can piece together the back of it (I like to leave plenty of fabric left over the edges so I make my backing a couple inches bigger than my front).
After you have finished that you can sandwich it all together with the batting in-between the front and backing. I don't have a picture of this next part, but it was probably the funnest and hardest part of this project. My mother-in-law has a machine with a quilting arm attachment (she taught me how to machine quilt on it). There are a lot of options here. You can either hand quilt it, machine quilt it, or take it somewhere and have someone else machine quilt it for you. Since this was such a big project I decided to machine quilt it. I used a purple multicolored thread. I just did a more random (it's called stippling) type of quilting pattern.
My mother-in-law is a genius when it comes to quilting (she has her own blog all about quilting, if you want to know more about any type of quilting, she would know :) )
After it is all quilted, it is time to put a binding on it. I used my scraps from the quilt. I had quite a bit of 2 inch strips left over so I connected all of them and ironed them in half. I will add a tutorial on how to do a great binding (I am trying to perfect it myself....) As long as the quilt is trimmed up squared and even the binding will work out perfectly. Make sure that you cut all of the extra strings that get left behind! After you are done with that, wash it and then add the label if you would like.
And then VIOLA!!! You are finished :)